





 Submit


How to handle an MCU reset pin susceptible to ESD interference? Checking RC circuits, supervisory chips, and PCB traces.
 2026.08.04 00:00:00
 92
92





If an MCU reboots during ESD testing, first read the reset cause to determine whether the RESET pin was triggered. Brown-out resets, watchdog timeouts, and clock anomalies can also manifest outwardly as a system reboot. Modifications to the RC network or reset supervisory circuit are warranted only if the reset flag, RESET signal waveform, and power rail behavior correlate.
Once it is confirmed that the RESET line is being disturbed, the typical remediation sequence involves shortening trace lengths, relocating components away from the enclosure and interface entry points, and addressing debug circuitry; subsequently, verify the pull-up resistor, capacitor, and supervisor chip against the MCU datasheet. Simply increasing the capacitance to a very high value may introduce new issues regarding firmware programming, power-up sequencing, and normal reset operations.
First, confirm that the reset pin is indeed what triggered this event.
Most MCUs can distinguish between power-on reset, brown-out reset, external reset, watchdog reset, and software reset. Firmware should read the reset cause early in the startup sequence and save it before the initialization code clears the flags.
You could also add a heartbeat GPIO or a startup counter. During testing, the evidence is only conclusive if the interface reappears and the startup count increments while the reset cause indicates an external reset. If the reset cause points to a brown-out, you should investigate the power supply and ground connections first, rather than modifying the RESET pin capacitor.
Certain exceptions can cause the program to jump to the startup routine without triggering an actual hardware reset. Debug builds can log the program counter, exception vector, and watchdog status to prevent misinterpreting a software crash (runaway code) as pin-level interference.
Why is the RESET pin susceptible to picking up ESD pulses?
The reset pin is typically held at an inactive level by a weak pull-up resistor and is connected to a button, a programmer interface, or a test point. Being a high-impedance node with a long trace, it is susceptible to picking up rapidly changing electric fields from the nearby enclosure via parasitic capacitance.
Coupling becomes more pronounced if the reset line runs parallel to connectors, shielding cans, metal panels, or long ribbon cables. If the ground plane beneath the reset line is interrupted, return currents are forced to take a detour, thereby increasing the loop area.
Debug ports are often overlooked as potential signal branches. Although mass-produced boards may not be fitted with pin headers, the solder pads and long stubs remain; furthermore, connecting a programming cable during testing alters the device's grounding and coupling paths.
Why RC parameters cannot be simply copied or arbitrarily increased
The pull-up resistor and capacitor form a low-pass filter capable of suppressing narrow pulses; however, MCUs often have specific requirements regarding reset rise time, minimum pulse width, and debug interface characteristics. These constraints can vary between different series or even within the same product family.
If the resistance is too high, the node becomes more susceptible to leakage and coupling effects; if the capacitance is too high, the release time during power-up slows down, potentially preventing the debugger from reliably controlling the reset. When components such as a reset button, an open-drain supervisor, and an external programmer are connected in parallel, their combined drive capability must also be calculated.
A prudent approach is to establish a baseline using the recommended circuit from the chip's datasheet and then adjust the RC values within permissible limits. During testing, modify only one value at a time while verifying cold starts, warm starts, power-cycle behavior, and programming functionality.
What problems can a reset monitoring chip solve?
A reset supervisor IC controls the RESET signal based on voltage thresholds and time delays, effectively addressing issues such as slow power-up ramps, voltage dips, or undefined thresholds. Its output drive capability is also typically more robust than a simple pull-up configuration.
However, a supervisor IC is not an ESD shield. If a discharge couples directly into its output trace, or if its power and reference ground lines fluctuate together, the MCU may still trigger a reset. The device should be placed close to the MCU with short output traces and appropriate local decoupling.
When selecting a device, verify the threshold voltage, delay time, output type, power-up state, and minimum operating voltage. Open-drain outputs require a matching pull-up resistor, whereas push-pull outputs must be designed to avoid direct conflicts with debuggers or other reset sources.
How should the RESET trace be routed?
Keep reset lines as short as possible and maintain a continuous reference plane beneath them. Avoid running these lines parallel over long distances to external interfaces, switching nodes, crystal driver circuits, or connector shield return paths; also, do not route them in a loop around the board edge to reach a button.
If a front-panel button must be connected, implement current limiting and filtering at the interface side to isolate the long line from the MCU. Points for ESD clamping and return currents should be located near the cable or button entry point; do not allow transient currents to travel close to the MCU before being diverted.
Place test points near the MCU; do not extend long stubs just for the sake of probing convenience. Changing layers on a multilayer board introduces vias and stubs, whereas completing the connection over a short distance on the same layer is generally easier to control.
How should the reset button and debugging interface be handled?
An exposed reset button brings the RESET net directly into an area accessible to the user. It is preferable to use insulated button caps and plastic actuators to increase the clearance between the opening and internal conductors. If a long trace is required for the button, place the series impedance close to the entry point while maintaining appropriate filtering at the MCU end.
Ensure that all pins on the debug interface are at a defined logic level when not in use. For mass-produced boards, long branches can be isolated from the MCU using low-value resistors, reserved resistor footprints, or shorting jumpers; the chosen method must not interfere with programming or boundary-scan operations.
ESD testing should be conducted to identify issues in both connected and disconnected states of the debugger. The final determination regarding which state to use for official validation depends on product specifications and actual usage scenarios.
Why is a power supply voltage dip sometimes misidentified as a RESET-triggering disturbance?
When ESD current flows through the digital ground or power entry point, the MCU's local supply voltage may momentarily dip below the undervoltage threshold. This causes the device to reboot; a voltage level change might even appear on the RESET pin due to internal reset logic, potentially leading to a misinterpretation of the cause-and-effect relationship if only that specific waveform is observed.
Measurements should be taken by simultaneously monitoring the MCU decoupling capacitor terminals, the RESET pin, and the reset supervisor output, using a short-ground probe connection. The long ground lead of a standard probe can pick up the discharge field, easily resulting in spurious spikes in the waveform.
If the reset is caused by an undervoltage condition, inspect the voltage regulator's input and output, the input protection circuitry, the decoupling capacitor layout, and the ground return path. Simply increasing the capacitance on the RESET pin will not resolve power supply issues.
When can ferrite beads be used for local power supply testing?
Once it is confirmed that interference is entering the MCU area via a low-current power branch, an A/B test can be conducted using a series ferrite bead combined with local decoupling. The ASIM CVB1608V121T—featuring an impedance of 120 Ω ±25% at 100 MHz, a maximum DCR of 0.45 Ω, and a maximum rated current of 600 mA—is a suitable candidate for such local branches operating below that current limit.
The 120 Ω figure is merely a catalog specification at a specific frequency. Before final implementation, one must also evaluate the full impedance curve, DC bias characteristics, startup peak currents, voltage drop, temperature rise, and voltage regulation loop stability. The component is not intended to clamp the RESET pin, nor should it allow primary ESD currents to flow through the MCU area via the digital ground.
Inserting an inductor into the VCC branch is not suitable for all MCUs or touch-sensing circuits, as it can affect startup transient currents and power supply stability. Such modifications must be validated through waveform analysis and functional testing; a design should not be finalized simply because a reduction in near-field noise is observed.
What are the capabilities of the software and the watchdog?
The software can log reset causes, restore peripheral states, and break out of infinite loops during communication anomalies. A watchdog allows the program to return to a known state after a crash or runaway execution; such measures enhance recoverability.
If product acceptance criteria prohibit resets during testing, an automatic software restart does not constitute the completion of hardware rectification. For devices that control outputs, one must also consider whether unintended actions occur during the restart process, rather than focusing solely on the final recovery of the user interface.
Detailed debug logs in the firmware can alter timing and power consumption. Final re-testing should utilize software that closely resembles the production release—retaining only essential diagnostics—to ensure that the logging process itself does not mask underlying issues.
How to verify that the reset and corrective actions have no side effects.
First, use the specific location and polarity where the failure originally occurred as a baseline to verify that the reset issue no longer arises. Subsequently, extend testing to cover other discharge points, positive and negative polarities, various operating modes, and multiple prototype units.
Following modifications to RC or monitoring circuits, conduct tests for slow power-up, rapid power-cycle (shutdown and restart), short-duration voltage dips, manual reset, and debug/download operations. If ferrite beads or capacitors are added to specific power rails, also verify performance at minimum voltage, maximum load, and temperature limits.
If structural adjustments or changes to shielding connections prove effective, document the required distances, materials, and assembly specifications in the engineering drawings. Retain details regarding fly-wires, copper foil modifications, or temporary capacitors solely in the rectification records.
Common Issues in MCU Reset Pin ESD Remediation
Does a larger RESET capacitor improve ESD immunity?
Not necessarily. A large capacitor can filter out narrow pulses, but it may also cause the reset signal to release too slowly, interfere with debugging, or exceed the limits specified in the MCU datasheet. Testing should be conducted within permissible limits.
Can an ESD event still trigger a reset if a reset supervisor chip is used?
Yes. While a supervisor chip manages power supply thresholds and reset timing, it cannot automatically eliminate issues such as coupling on output traces, ground bounce, or currents flowing through the enclosure.
If a voltage spike is observed on the RESET line via an oscilloscope, does that confirm it as the source of the fault?
No. First, perform a control test with the probe floating, and simultaneously monitor the power supply and reset signals. Spikes can also be induced by the discharge field being picked up by a long ground lead.
How can watchdog resets be distinguished from external resets?
Read the MCU's reset cause register and save the value early in the startup sequence. Refer to the specific MCU datasheet for details regarding flags and the clearing procedure.
Analysis of MCU reset issues is easily led astray by the initial startup behavior. First, identify the reset cause, then check the RESET line, power supply, and clock; only then can subsequent modifications to RC circuits, supervisors, or the PCB be targeted effectively.
 Previous

Related News
2026.07.17
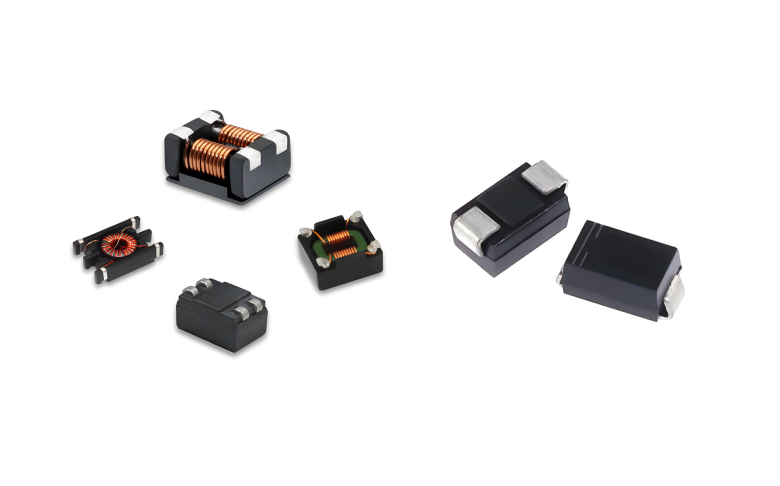
How should TVS diodes and common-mode inductors be configured for a CAN interface?
2026.07.20
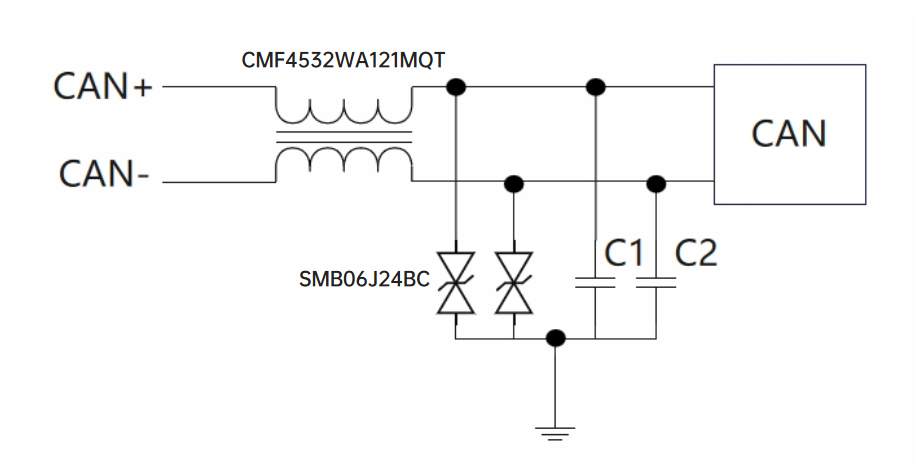
How should a failure in the CAN communication surge test be handled?
2026.07.23
How do you implement ESD protection for USB Type-C interfaces? You need to select separate solutions for the data lines, CC lines, and VBUS.
2026.07.23
How to Design ESD Protection for HDMI Interfaces? Key Selection Criteria for TMDS High-Speed Lines and Control Lines
2026.07.23
How to Select Low-Capacitance ESD Protection for MIPI D-PHY Interfaces: Key Design Considerations for Camera and Display Links
2026.07.24
What are the differences between SMA, SMB, and SMC packaged TVS diodes? Selection based on power and size.
2026.07.24
How to Select a TVS Diode for the Power Input: A Complete Process from Operating Voltage to Clamping Voltage

2026.07.28
How to remediate EMC radiated emission failures? Troubleshooting clocks, cables, and PCB return paths.

2026.07.28
Why does adding a filter fail to resolve EMC issues? First, determine whether the noise is common-mode or differential-mode.
2026.07.29
Why does the ESD test still fail after replacing the protection device? Troubleshooting discharge paths, grounding, and component placement.


